as the summer starts to wind down over the next several weeks, it’s essential to prepare your home’s outdoor AC unit for the cold months ahead. Winterizing your AC unit can help protect it from potential damage caused by freezing temperatures and ensure it’s in top condition when you need it again in the spring. In this blog post, we’ll provide you with a step-by-step guide on how to prepare your outside AC unit for winter.
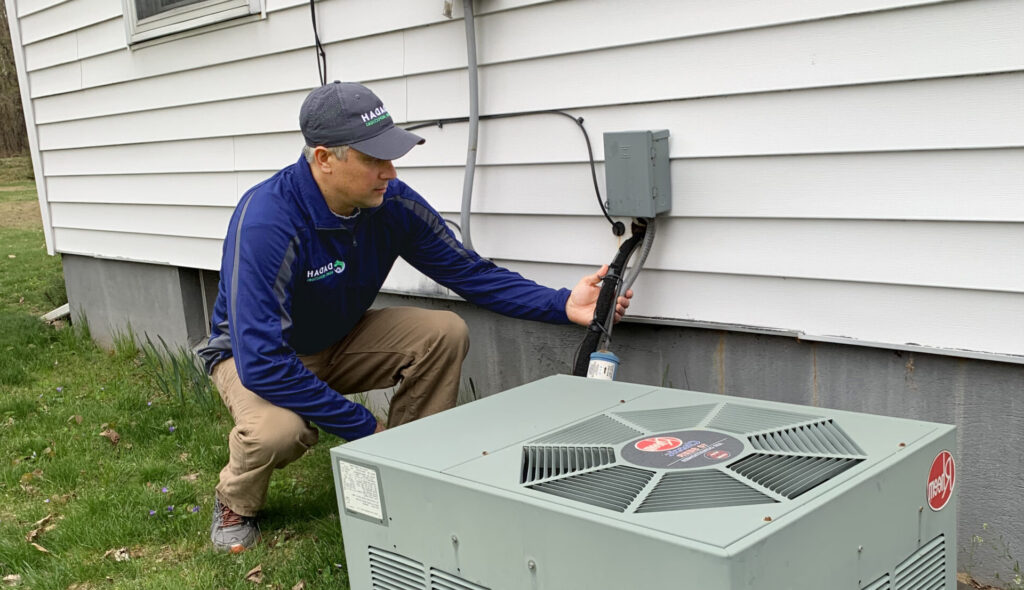
1. Turn Off the Power: The first step to safely winterize your AC unit is to turn off the power supply. Locate the circuit breaker or the disconnect switch near the unit and switch it off. This precaution will prevent accidental operation and protect you from electrical hazards during maintenance.
2. Clean the Surrounding Area: Remove any leaves, debris, and vegetation that have accumulated around the AC unit during the fall. Clean the area thoroughly to ensure proper airflow and prevent debris from getting inside the unit.
3. Inspect and Clean the Unit: Visually inspect the AC unit for any signs of damage or wear. Check for loose or damaged components and tighten or repair them as needed. Clean the exterior of the unit with a gentle stream of water to remove dirt and grime.
4. Cover the Unit: Invest in a proper AC unit cover or use a tarp to shield the unit from winter weather. Make sure the cover is designed specifically for AC units and allows for proper ventilation. Covering the unit will protect it from snow, ice, and debris, prolonging its life and preventing potential damage.
5. Elevate the Unit (if applicable): If your AC unit is positioned on a concrete pad or a flat surface, consider elevating it with bricks or wooden blocks. Elevating the unit helps prevent it from sitting in standing water if melting snow accumulates around it.
6. Insulate the Pipes: Locate the refrigerant lines that run from the outdoor unit to the indoor evaporator coil. Use foam pipe insulation or heat tape to wrap the pipes and protect them from freezing temperatures.
7. Check the Thermostat Settings: Ensure that your thermostat is set to “heat” mode and not “cool” mode during the winter months. This prevents the AC unit from turning on inadvertently when temperatures drop below the set point.
8. Schedule Professional Maintenance: Consider hiring a professional HVAC technician to perform a comprehensive maintenance check on your AC unit before winter sets in. A trained technician can identify any potential issues and make necessary repairs or adjustments to ensure optimal performance when you need it again in the spring.
Conclusion: Winterizing your outdoor AC unit is a simple yet vital task to protect your investment and prolong its lifespan. By following these steps and taking the necessary precautions, you can rest assured that your AC unit will be in excellent condition when warm weather returns. Proper winter maintenance not only saves you from potential repairs but also ensures that your AC system operates efficiently and effectively for years to come. Keep your AC unit safe and snug during winter, and it will reward you with cool comfort when the sun shines again.